GENIE brings TABLES back
Published 14 May 2014
Genie: Table Editing Icon
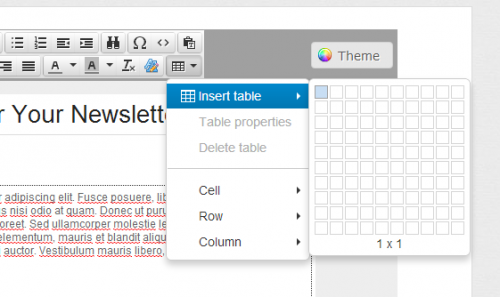
After much anticipation, we welcome back Genie’s Table Editing Icon - and the crowd goes wild! Not much to really say about this feature except that it is now stable and awesome. It can be found on the second row of toolbar items, on the far right side; it looks like a mini-table.
What can this mighty little icon do?
- Insert a table into any article with up to 10 rows and 10 columns
- You can merge and split cells
- You can insert (or delete) rows and columns
- You can set table, row, and cell properties
What do I use this utility to do? I’m glad you asked.
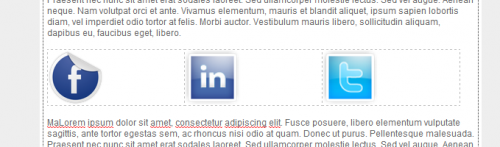
HOW TO: Create nicely spaced social icons horizontally
- Click into any article
- Click on the Table icon
- Click on “Insert table”
- Click on the 3rd or 4th cell on the first row - this will insert the table into your article
- Drag the right side of the table selector to the far right side of your article (alternatively, you can click on the table icon and the Table properties option to set the width manually)
- Click into each cell and add the appropriate social icon
HOW TO: Create nicely spaced horizontal row of sponsor logos
Do the exact same as above but use your sponsor logos
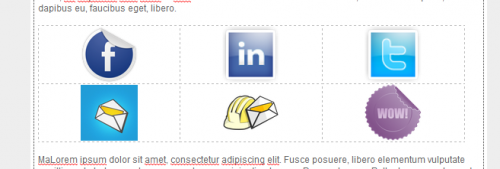
HOW TO: Create two rows of nicely spaced horizontal sponsor images
Do the exact same as above (above) and use the Table icon to insert a row below (or above) the existing row of images. This time around, I centered the images in each cell by clicking on the CENTER ALIGN icon.
The options are endless. Happy Building!